Ruckus : Using Multiple RADIUS Servers

I have recently been configuring Network Access Control with 802.1x, and I had been having issues with using multiple RADIUS servers on Ruckus ICX Switches. The main issue being:

RADIUS Authenticate over SSH to switch using Microsoft NPS RADIUS Server
RADIUS Authenticate using 802.1x or MAC-Auth using DOT1x RADIUS Server

In Ruckus ICX switches there isn’t any concept of AAA groups like in Cisco, where you can designate specific RADIUS traffic to go to various different RADIUS Servers.

I have found 2 work arounds, I did however also call support and spend 1 hour troubleshooting with them and they didn’t have an answer for me.

Some Basic Setup Information

Microsoft NPS RADIUS Server : 1.1.1.1
DOT1x RADIUS Server : 1.1.1.2

Here are my AAA Authentication Commands:

SSH@tpw-sw1# sh run | inc authentication
aaa authentication web-server default radius local
aaa authentication enable default radius local
aaa authentication dot1x default radius
aaa authentication login default radius local

Here are my 2 work arounds:

WORKAROUND 1

SSH@tpw-sw1(config)# radius-server host 1.1.1.1 auth-port 1812 acct-port 1813 default key RADIUS1SECRET
SSH@tpw-sw1(config)# radius-server host 1.1.1.2 auth-port 1812 acct-port 1813 default key RADIUS2SECRET dot1x mac-auth

If you use the 1.1.1.2 RADIUS server first in the list you cannot authenticate to the switch at all, even over super-user-password. So the only way I have it working is to have the DOT1x Radius Server listed 2nd but calling out DOT1x and MAC-AUTH.

WORKAROUND 2

The other method I found is to apply a command at the interface level:

SSH@tpw-sw1# conf t
SSH@tpw-sw1(config)# int ethernet 1/1/1
SSH@tandy-lab-sw1(config-if-e1000-1/1/1)#use-radius-server 1.1.1.2

I hope that this helps, I spent a day trying to figure it out 🙂


Palo Alto : Upgrade High Availability (HA) Pair

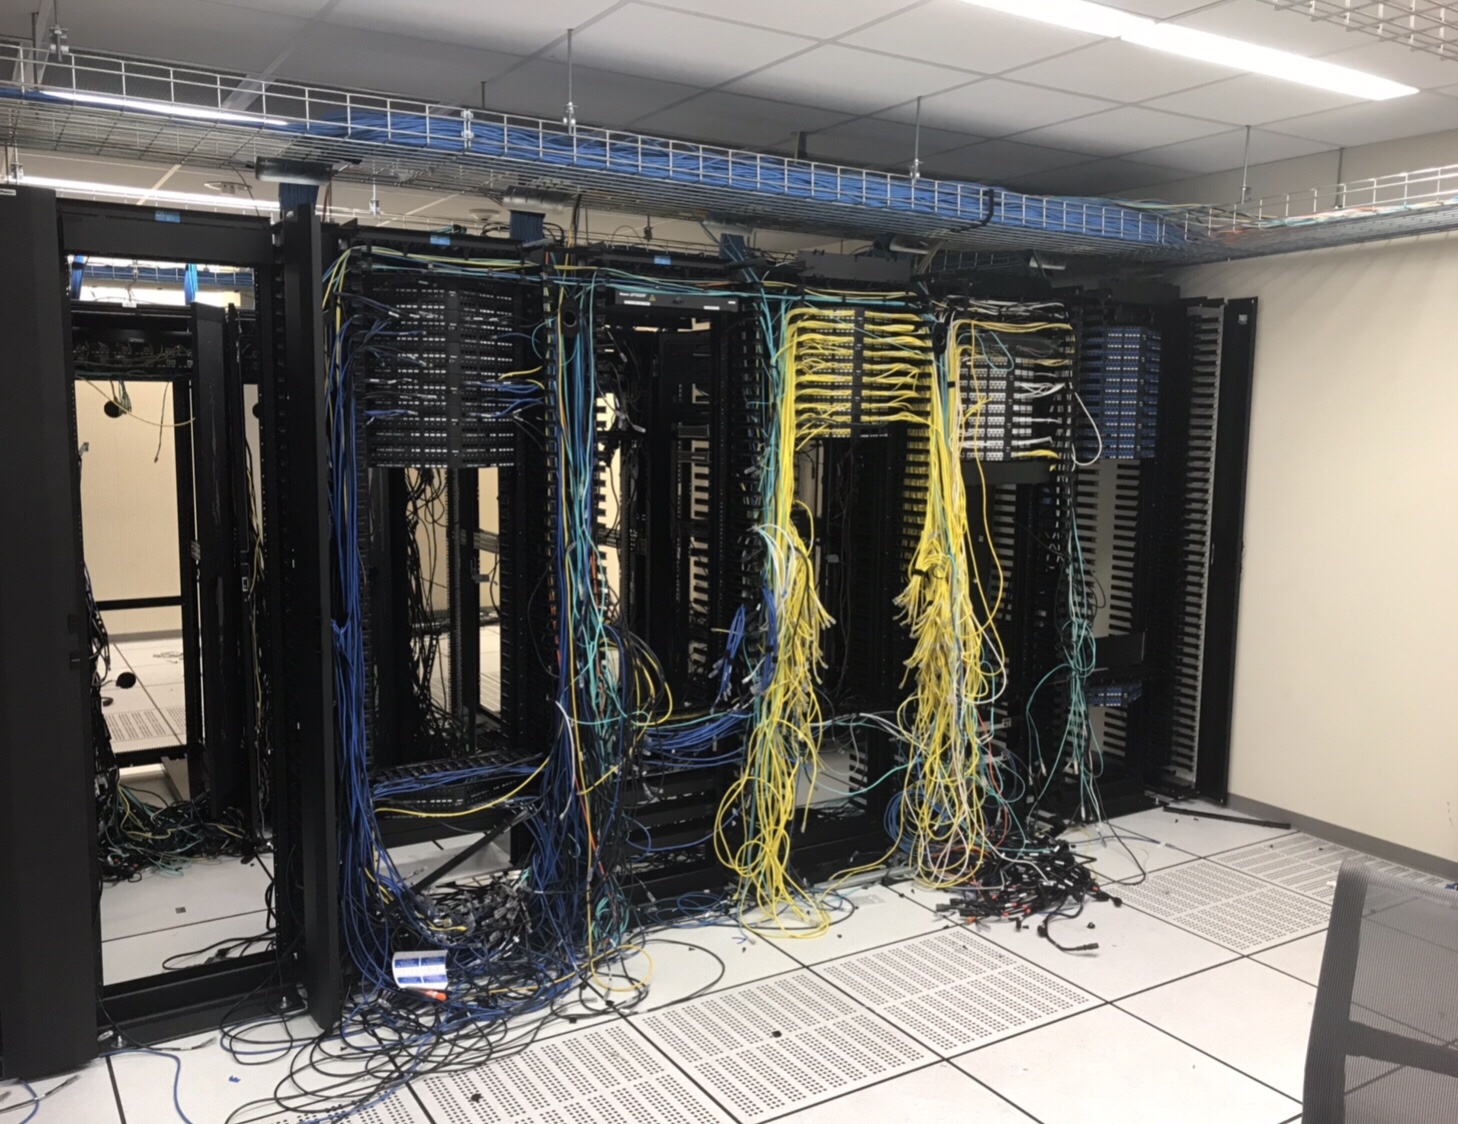
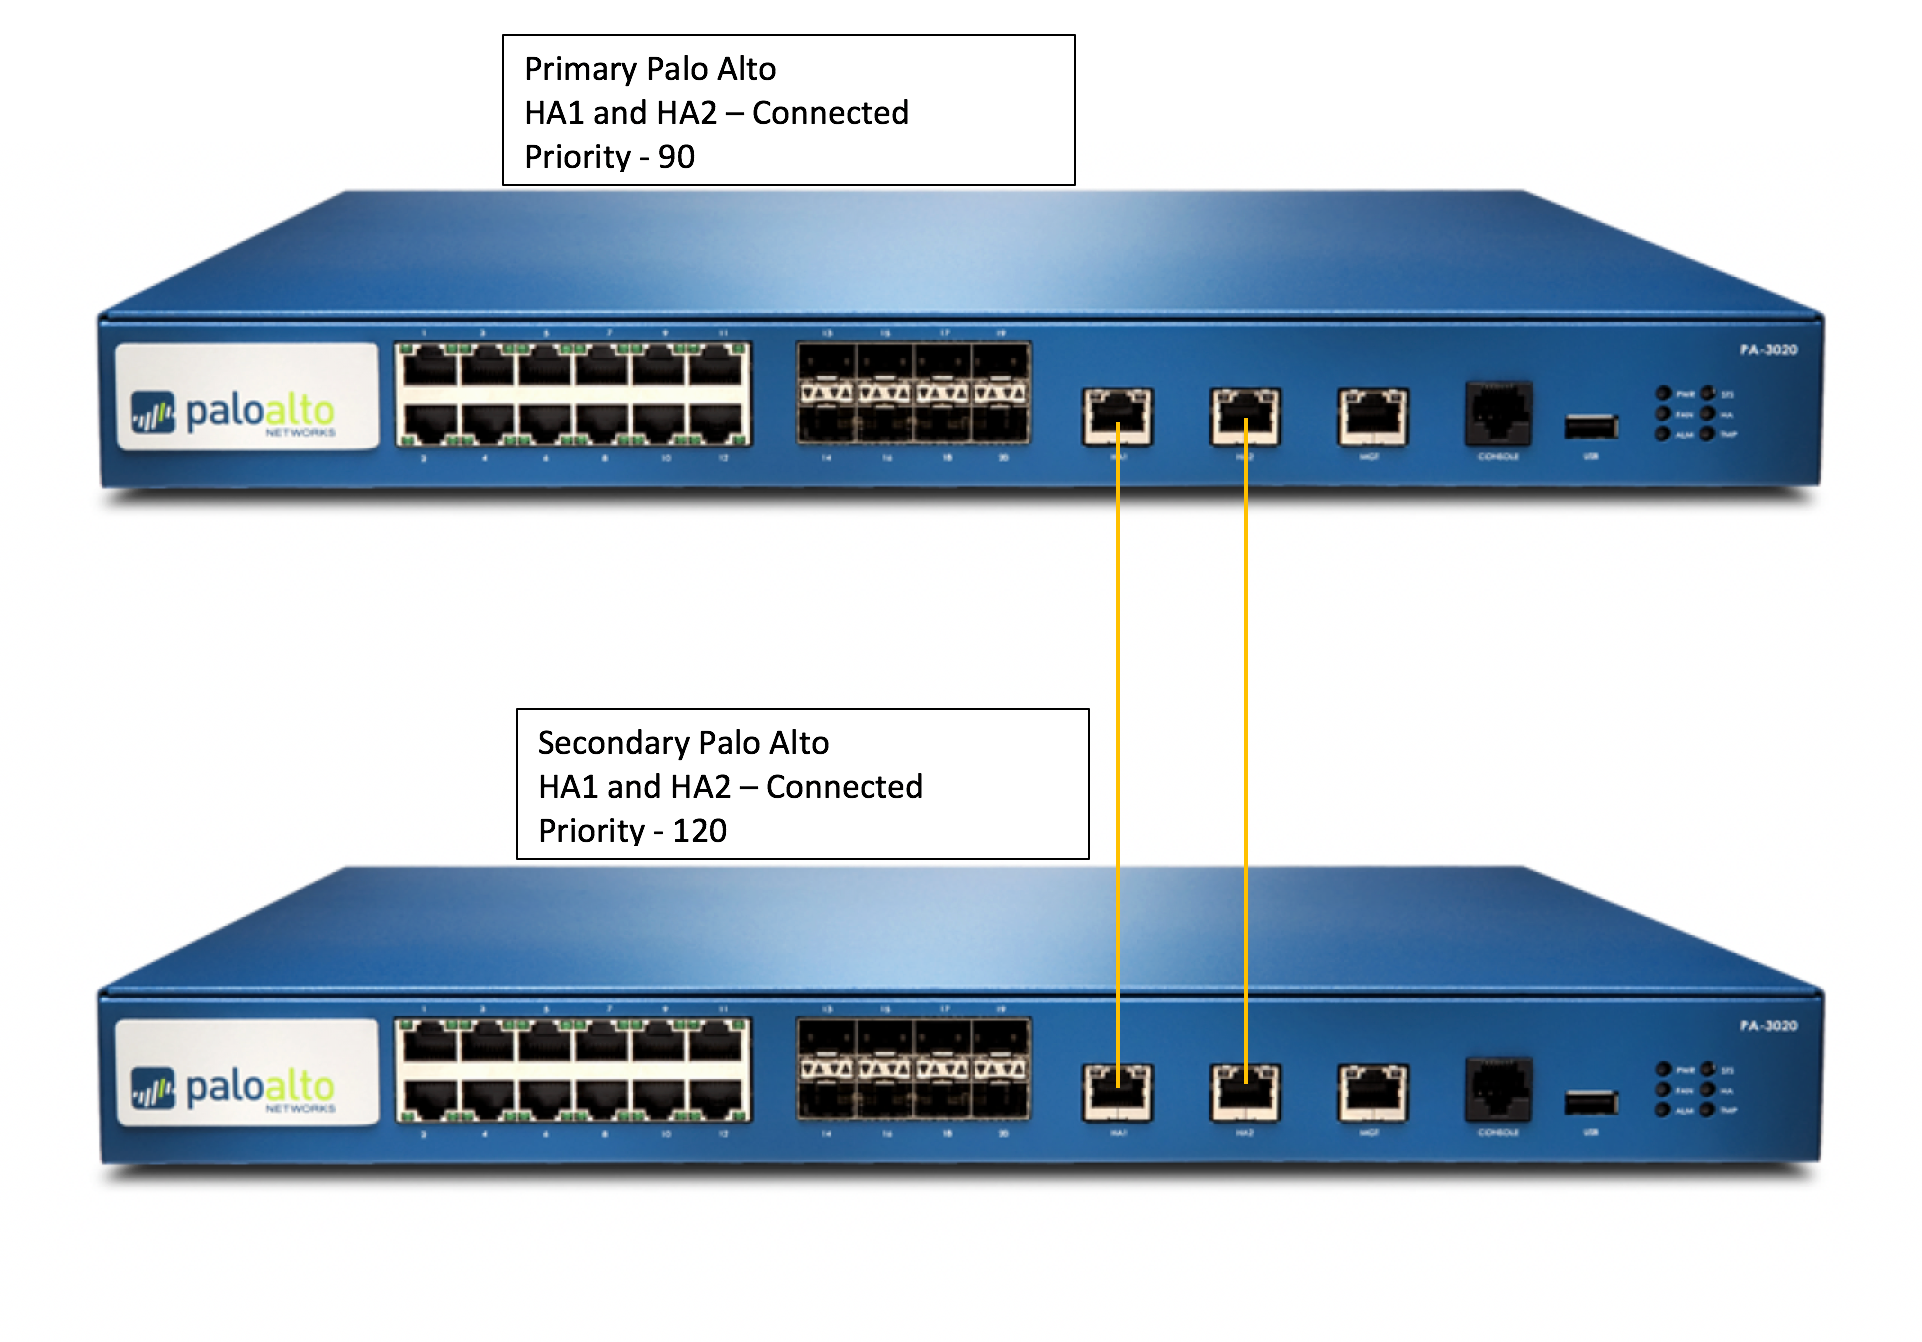
Over the last 3 weeks since the Christmas and New Year Holidays,  I have been upgrading all of our firewalls globally, many of them are an High Availability Pair. This means they are redundant and being redundant allows me to upgrade them individually while the site stays full up and functional.

The  instructions for upgrading an HA pair are recommended because:

      • It verifies HA functionality before starting the upgrade.
      • It ensures the upgrade is successfully applied to the first device before starting the upgrade on the second.
      • At any point in the procedure, if any issue arises, the upgrade can be seamlessly reverted without any expected downtime (unless you are having any dynamic routing protocols line OSPF/BGP).
      • When finished, the final active/passive device state will be the same as it was before the upgrade with the fewest number of fail overs possible (2).

Before you Begin :

Take backup of the configuration as well as Tech Support from both HA Peers. Give proper names to each file, here is how:

Device > Setup > Operations > Save Named Configuration Snapshot

Device > Setup > Operations > Export Named configuration Snapshot

Device > Setup > Operations > Export Device State (If device managed from panorama

Device > Support > Generate Tech Support File, and then download it. (Might be required if any issues)

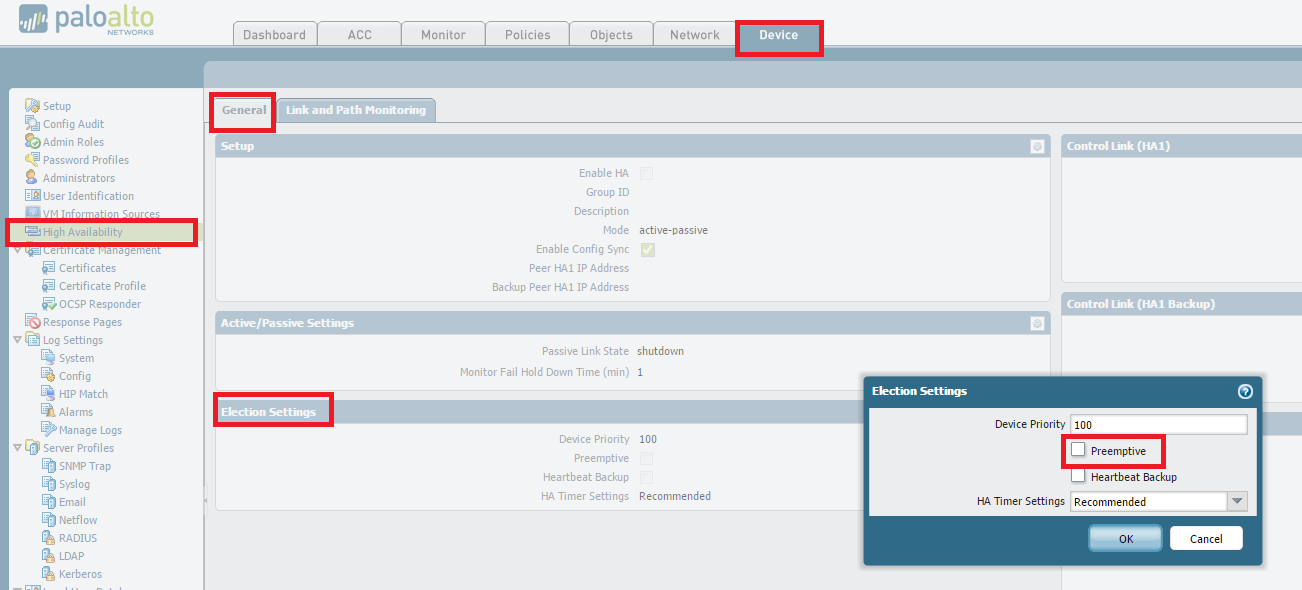
(Optional but recommended) Disable preemption on High Availability settings to avoid the possibility of unwanted failovers. Disabling preempt configuration change must be committed on both peers. Likewise, once completed, re-enabling must be committed on both peers.

To disable preempt, go to

Device > High Availability > Election Settings and uncheck Preemptive.
Then, perform a commit.


If upgrade is between major versions (4.1 -> 5.0 OR 5.0-> 6.0), it is advisable to disable TCP-Reject-Non-SYN, so that sessions can failover even when they are not in sync. : Do this on both Firewalls from the CLI:

 # set deviceconfig setting session tcp-reject-non-syn no
 # commit


(Optional but recommended) Arrange for Out-of-Band access (Console access) to the firewall if possible. This is again to help recover from any unexpected situation where we are unable to login to the firewall. If you have a Terminal Server awesome, if not a simple Cell Phone tethered to a Laptop with RDP is also fine.


The Upgrade Process

Suspend Backup Device 

From the CLI

 > request high-availability state suspend

From the GUI

Go to Device > High Availability > Operational Commands  > Suspend local device

Install the new PAN-OS on the suspended device

Device > Software > Install

Reboot the device to complete the install.

When the upgraded device is rebooted, check the dashboard to check the version, wait for all the interfaces to come backup green.

If the device is still in suspended state make it functional again

From the CLI

> request high-availability state functional

From the GUI

Go to Device > High Availability > Operational Commands  > Make Local Device Functional


Repeat steps on other firewall.


Suspend Primary Device

From CLI

> request high-availability state suspend

From the GUI

Go to Device > High Availability > Operational Commands  > Suspend local device.


*The Backup Firewall will become Active – it does take 30-45 seconds so don’t panic


Install the new PAN-OS on the suspended device:

Device > Software > Install

Reboot the device to complete the install.

When the upgraded device is rebooted, check the dashboard to check the version, wait for all the interfaces to come backup green.

If the device is still in suspended state make it functional again

From the CLI

> request high-availability state functional

From the GUI

Go to Device > High Availability > Operational Commands  > Make Local Device Functional

To Get Primary Back to Primary by suspending the backup (current active) firewall (The Original Backup Firewall)

From the GUI,

Go to Device > High Availability > Operational Commands  > Suspend local device.

Once the Primary became active again, enable the suspended backup firewall

Enable TCP-Reject-Non-SYN, so that sessions can failover even when they are not in sync. : (Do this on both Firewalls)

# set deviceconfig setting session tcp-reject-non-syn yes
# commit


Re-Enable preempt configuration change must be committed on both peers. To re-enable preempt, go to Device > High Availability > Election Settings and uncheck Preemptive.  Then, perform a commit.


How to Downgrade

If an issue occurs on the new version and a downgrade is necessary:

To revert to the previous PAN-OS screen, run the following CLI command:

# debug swm revert

This causes the firewall to boot from the partition in use prior to the upgrade. Nothing will be uninstalled and no configuration change will be made.


However please be aware while running this command –

After rebooting from a SWM revert, the configuration active at the time before upgrade will be loaded with the activation of the previous partion. Any configuration changes made after upgrade will not be accounted for and will need to be manually recovered by loading the latest configuration version and committing the changes.

Palo Alto : Reconnaissance Protection Whitelist

Recently I have been implementing a software called Insight VM by Rapid 7 which runs reconnaissance on our network looking for vulnerabilities. Whilst this software is scanning, I was finding the Firewall would block it (like its supposed to) and then complain like crazy that it and its Network was being targeted. 27,000 email over night I decided to research how to solve this issue. Luckily Palo Alto have thought about this.

Here is how to implement Reconnaissance Protection Whitelist:

Select Network>Network Profiles>Zone Protection>Reconnaissance Protection to add a source address exclusion whitelist to your zone protection Profile.

Add an address to your source address exclusion whitelist. You add up to 20 IP addresses or netmask address objects.

Solarwinds : Download “Set” Command backup for Palo Alto

Download “Set” Command  backup for Palo Alto

Settings > All Settings > NCM Settings > Advanced > Device Templates > Search ‘Palo Alto’ > Select ‘PaloAlto5050’ > Click Copy > Change Template Name ‘PaloAlto5050 – Set’ > Remove the XML information and then Copy and Paste the XML below > Click Save

<Configuration-Management Device="Palo Alto" SystemOID=" 1.3.6.1.4.1.25461.2.3">
 <Commands>
 <Command Name="RESET" Value="set cli pager off${CRLF}set cli config-output-format set${CRLF}configure" RegEx="#" />
 <Command Name="EnterConfigMode" Value="" />
 <Command Name="ExitConfigMode" Value="exit" />
 <Command Name="Startup" Value="saved running-configuration" />
 <Command Name="Running" Value="" />
 <Command Name="DownloadConfig" Value="show ${ConfigType}" />
 <Command Name="UploadConfig" Value="" />
 <Command Name="DownloadConfigIndirect" Value="" />
 <Command Name="SaveConfig" Value="commit" />
 <Command Name="Version" Value="show" />
 </Commands>
 </Configuration-Management>


Change the Template being used on the Palo Alto Nodes

Settings > Manage Nodes > Palo Alto > Select All > Edit Properties > Tick Communication > Select Device Template ‘Palo Alto5050 – Set’ > Submit.

Solarwinds : Add/Edit Node

Add Device

Settings > Manage Nodes  > Add Node > Follow the Wizard.

Edit Node

Find Device > Edit Node > NCM Properties

Configurations Normally download to : \SolarWinds\Orion\NCM\Config-Archive

Data Centre : Post DC Move Unracking

We moved our company internal Data Centre to a COLO Facility 2 weeks ago, here is what is left. Before and After Pictures, as well as a photo of the “Boneyard”. A pretty good haul for E-Wasting:

2x Cisco 6909’s

3x Cisco 6513’s

8x Cisco ASA’s

2x Brocade Loadbalancers

4x Cisco 2900 Routers

2x Cisco Nexus 5k

1x Cisco Wireless LAN Controller


Palo Alto : Enable IPv6 and Create Default Route

To Enable IPv6 on the Firewall

Web GUI

IPv6 firewalling is enabled under Device > Setup > Session:

*** You may have to restart your Firewall for IPv6 to be enabled.

On the CLI

> configure

# set deviceconfig setting session ipv6-firewalling [yes|no]

# commit

Here is the interface configuration I used:

Don’t forget to add a rule in your security policy that allows Your new IPv6 interface to talk to your Gateway.

Add Default Route

You will also have to add a default route under Network > Virtual Routers > Default > Static Routes > IPv6

The default route for IPv6 is ::/0 the next hop is the default gateway address

The Packet Wizard : First Ever Fan Mail

Yesterday I received my first ever fan mail. I am grateful the blog is proving useful to some, and as my content grows hopefully the usefulness of the blog also grows. If anyone want to send me mail or anything else I am open to that. I accept : IOU’s, Gift Cards, Cash, Precious Gems, Hugs, and IT equipment. In all honesty I am over the moon its helping someone.